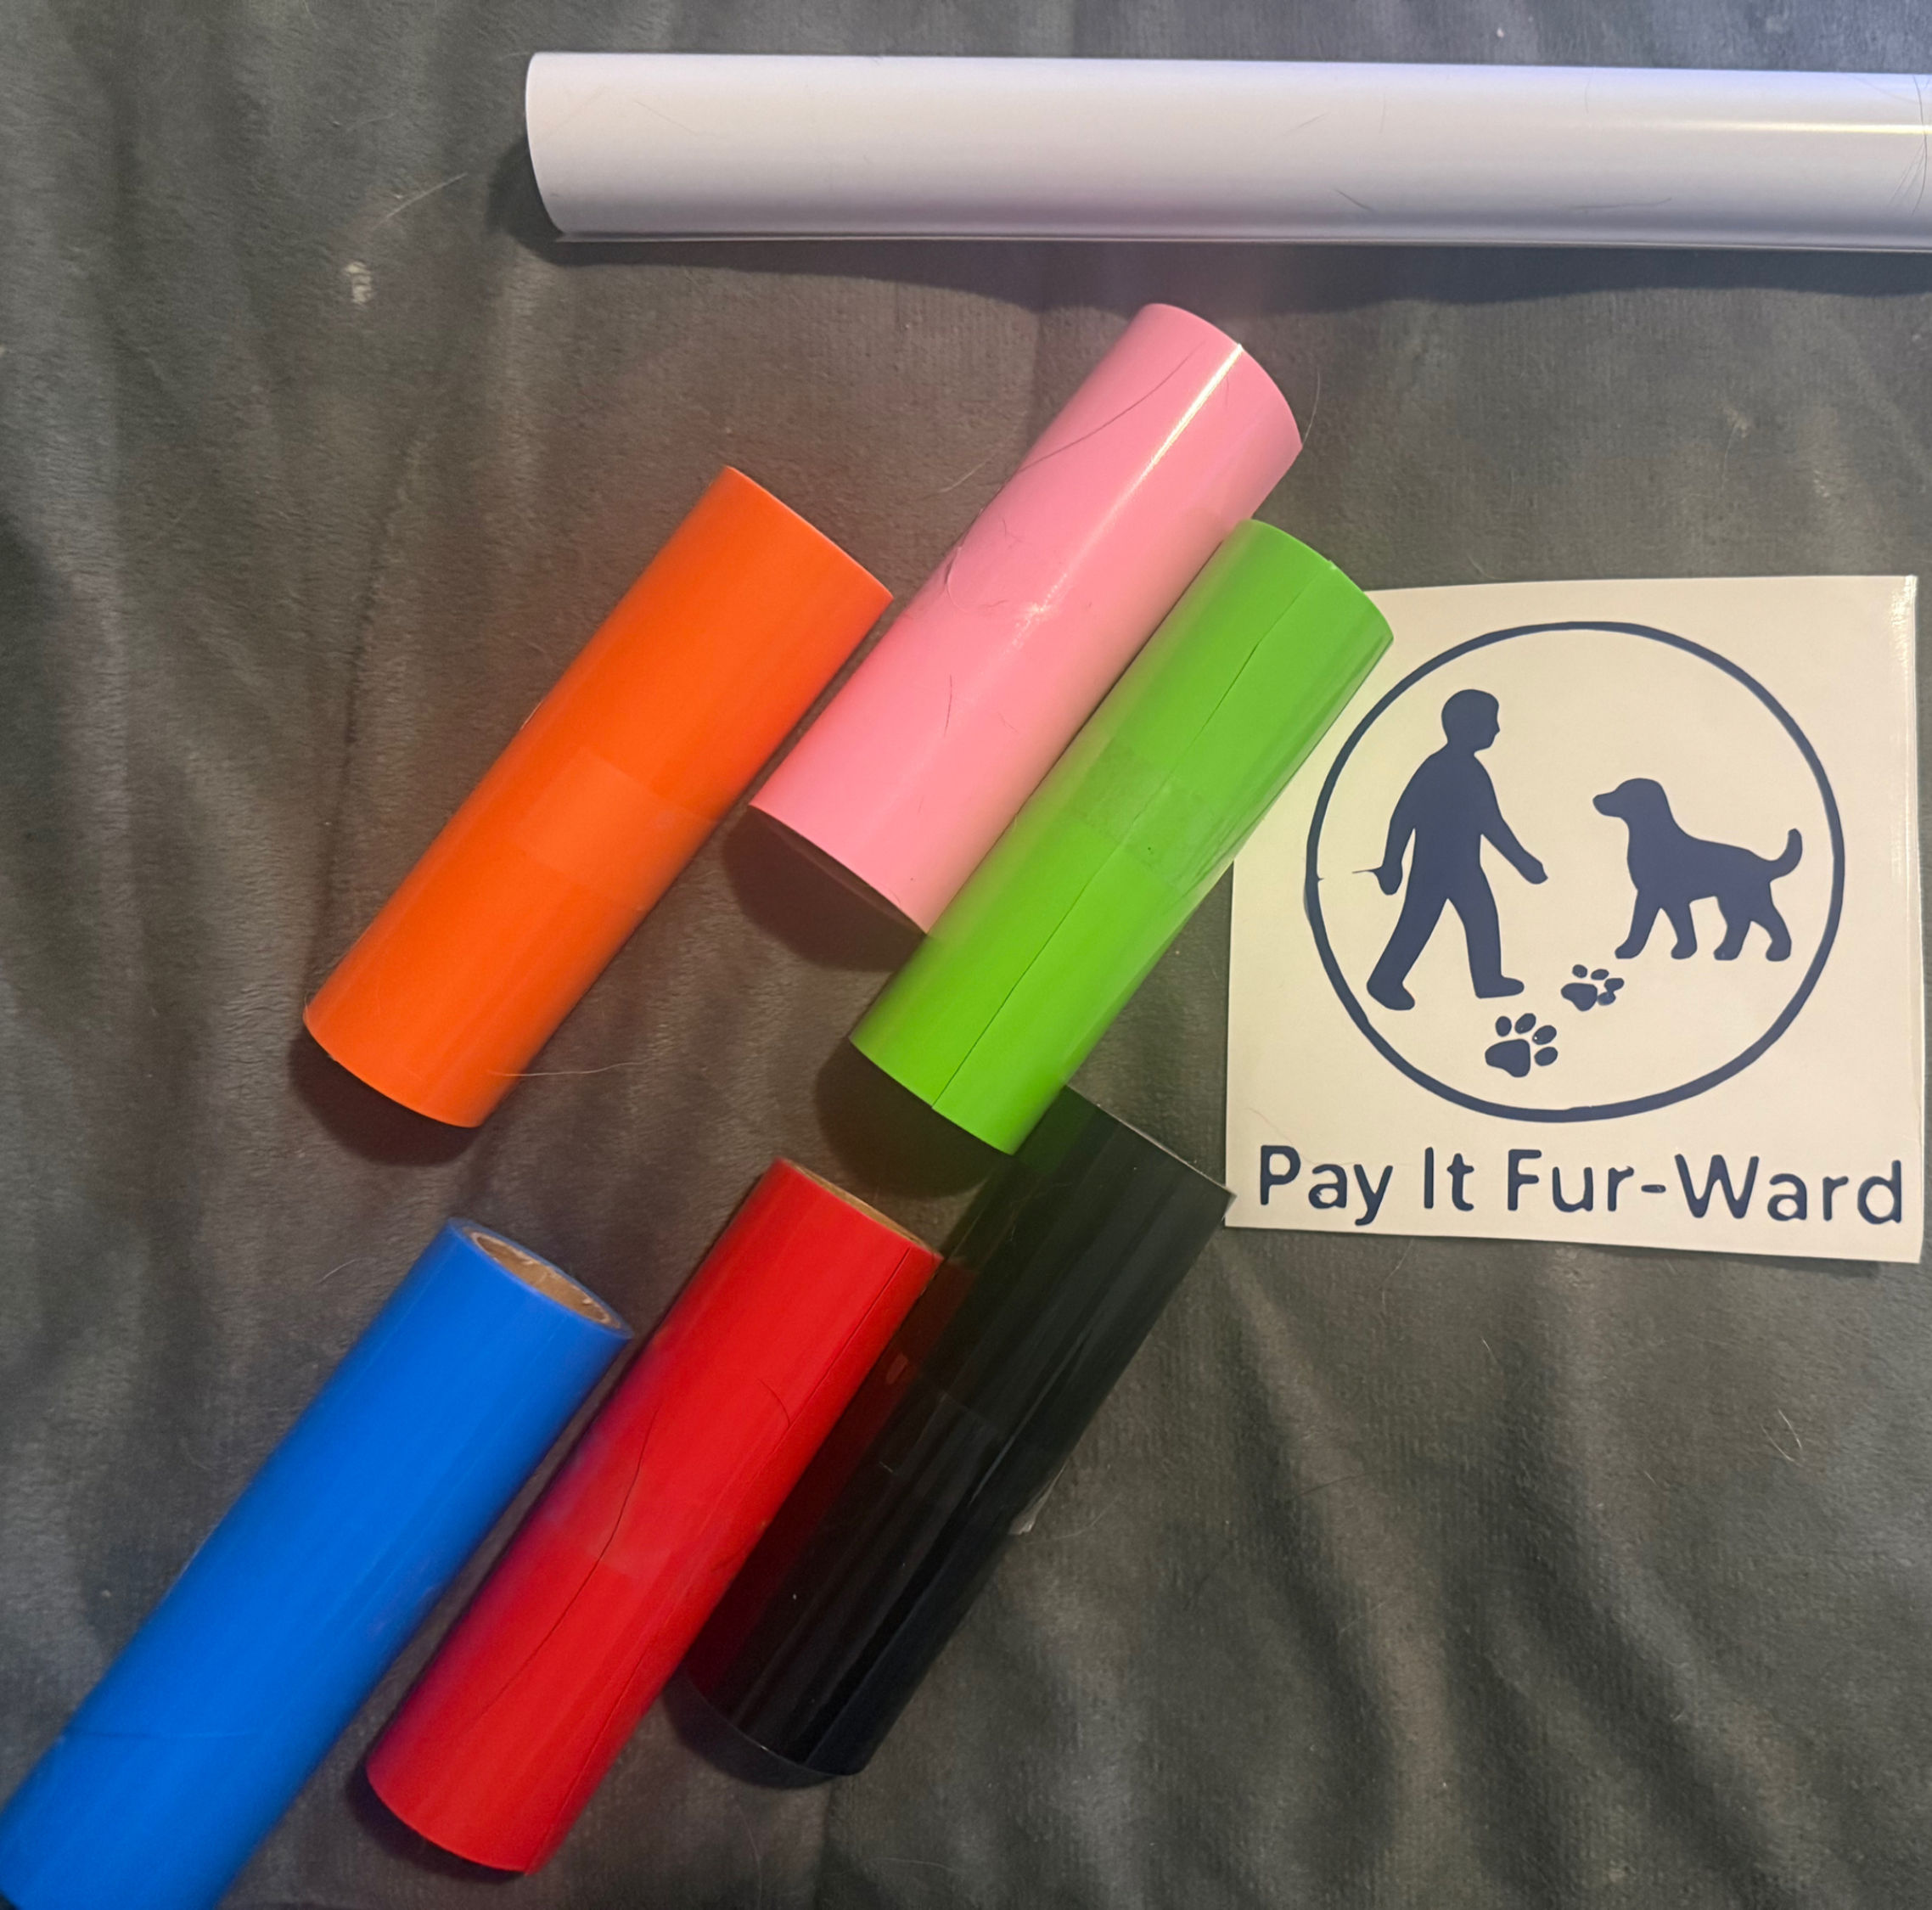
How to Apply Your Vinyl Sticker to a Car Window
For the best results, apply the sticker when the temperature is between 50°F and 80°F. Avoid applying it in direct sunlight, strong wind, rain, or extreme heat or cold.
1. Clean the Window
Thoroughly clean the application area with glass cleaner or rubbing alcohol and a lint-free cloth. Remove all dirt, grease, wax, and residue.
Allow the window to dry completely. Do not use cleaners that leave behind oils or protective coatings.
2. Prepare the Sticker
Place the sticker on a flat surface and firmly rub over the entire design with a squeegee, credit card, or similar flat-edged tool.
This helps ensure that every part of the vinyl is securely attached to the clear transfer tape.
3. Position the Sticker
Before removing the backing, hold the sticker against the window to decide exactly where you want it.
Use painter’s tape to mark the placement or create a guide.
4. Choose a Dry or Wet Application
Wet or dry is a matter of preference.
To make an application solution, fill a spray bottle with water and add only one or two small drops of mild dish soap. Too much soap may prevent the adhesive from bonding properly.
Lightly mist the window. The surface should be damp, not dripping wet.
5. Remove the Paper Backing
Slowly peel the paper backing away from the sticker at a sharp angle.
The vinyl design should remain attached to the clear transfer tape. If any part stays on the backing paper, lay it back down and rub firmly over that area before trying again.
6. Apply the Sticker
Carefully place the sticker onto the window.
For a dry application, begin at one side or in the center and slowly press the sticker down while smoothing outward.
For a wet application, gently slide the sticker into the correct position before pressing it down.
7. Smooth the Vinyl
Using a squeegee or credit card, press firmly from the center outward to remove air bubbles and, when using the wet method, push out all water from underneath the vinyl.
Work slowly and pay special attention to small letters, thin lines, edges, and detailed areas.
8. Remove the Transfer Tape
For a dry application, wait a few minutes before removing the transfer tape.
For a wet application, allow the sticker to dry for several hours or overnight before removing the transfer tape. Drying time may take longer in cool or humid weather.
Slowly peel the clear transfer tape away at a sharp angle, keeping it close to the surface of the window. Do not pull it straight outward.
If any part of the vinyl begins lifting, place the transfer tape back down, press firmly over the area, and allow it more time to dry before trying again.
9. Allow the Sticker to Cure
Press down any raised edges and allow the adhesive to cure for at least 24 to 48 hours.
Do not wash the vehicle, use a car wash, roll down the window, or expose the sticker to heavy rain during the curing period whenever possible.
For longer-lasting results, avoid scraping the sticker, using harsh chemicals around it, or directing a pressure washer closely at its edges.